
Pro . 11, 2024 20:46 Back to list
diy gabion stand for plants suppliers
DIY Gabion Stand for Plants A Creative and Sustainable Solution
As gardening enthusiasts seek innovative ways to showcase their plants while maintaining eco-friendly practices, DIY gabion stands have emerged as a popular solution. Combining functionality with aesthetic appeal, gabion stands provide a unique way to elevate your garden display. In this article, we will explore the benefits of using gabion structures, the materials needed, and a step-by-step guide to create your own gabion stand for plants.
What are Gabions?
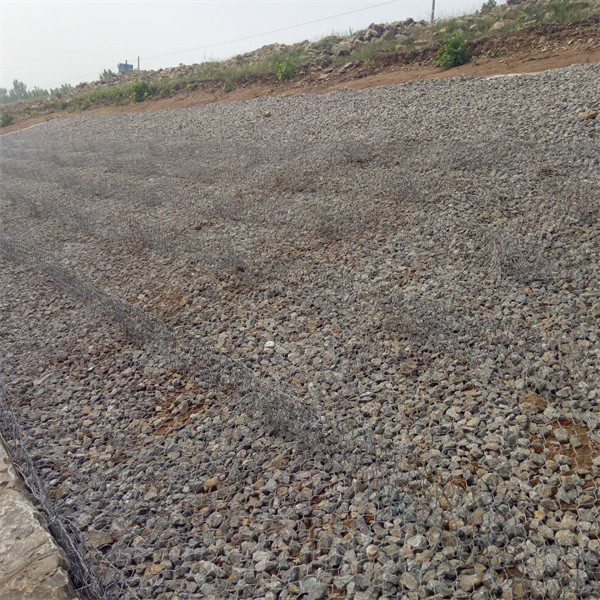
Gabions are wire mesh cages filled with materials such as stones, gravel, or other natural elements. Originally developed for erosion control and civil engineering projects, these structures have gained traction in landscaping and gardening due to their versatility and modern appearance. The use of gabions allows gardeners to incorporate natural materials into their designs while creating an environmentally sustainable display.
Benefits of Using Gabion Stands
1. Durability Gabion stands are built to last. The wire mesh is rust-resistant and can withstand various weather conditions, making them ideal for outdoor use.
2. Aesthetic Appeal The rugged yet stylish look of gabions adds a contemporary touch to any garden. They can be filled with colorful stones, gravel, or even recycled materials, allowing for personalization.
3. Versatility Gabion stands can serve multiple purposes—use them to elevate potted plants, create a decorative partition, or even as a seating area in your garden.
4. Eco-Friendly By using natural materials and promoting good drainage for plants, gabion stands support sustainable gardening practices.
Materials Needed
To create your own DIY gabion stand, you will need the following materials
- Wire Mesh 1-inch square or hexagonal wire mesh will work best. The size depends on the dimensions of your stand. - Stone Fill Choose stones or gravel that complement your garden aesthetic. You can also use repurposed materials like bricks or broken concrete. - Wire Cutters For cutting the wire mesh to your desired size. - Gloves To protect your hands during construction. - Zip Ties or Wire For securing the mesh. - Optional A liner to separate the soil from the stones, ensuring proper drainage.
diy gabion stand for plants suppliers
Step-by-Step Guide to Building a Gabion Stand
1. Design Your Stand Determine the dimensions of your gabion stand. A common size is around 36 inches high, 24 inches wide, and 12 inches deep, but feel free to adjust based on your space and needs.
2. Cut the Wire Mesh Use wire cutters to cut the mesh into the required dimensions. You will need four sides and a base to form a rectangular box.
3. Assemble the Gabion Frame Using zip ties or wire, secure the edges of the mesh together to form a box shape. Make sure the mesh is tight to ensure stability.
4. Create the Bottom Attach a piece of wire mesh to the bottom of the frame, securing it in place. This will keep your fill materials from falling out while allowing water to drain.
5. Fill the Gabion Once the frame is assembled, fill it with your chosen stones. Layer them for a visually appealing look, and make sure to pack them tightly.
6. Position Your Stand Place the gabion in your desired location in the garden. Ensure it is level and stable.
7. Add Plants Top your gabion stand with pots or directly plant in the soil if you have created a liner. Choose plants that will thrive in your local climate and that complement each other in color and texture.
8. Maintenance Gabion stands require minimal maintenance—occasionally clean the stones and ensure plants receive appropriate water and sunlight.
Conclusion
Creating a DIY gabion stand is an innovative way to enhance your garden, providing both functionality and beauty. With sustainable materials and a unique design, your gabion stand can serve as a focal point or a supportive structure for your beloved plants. This hands-on project not only allows you to express your creativity but also promotes a greener approach to gardening. So gather your materials and start building your very own gabion stand today!
-
Versatility of Chain Link Fence Gabion
NewsMay.13,2025
-
Trusted Gabion Box Suppliers
NewsMay.13,2025
-
PVC Coated Gabion for Long-Lasting Structural Integrity
NewsMay.13,2025
-
Garden Gabion for Stylish
NewsMay.13,2025
-
Galvanized Gabion for Durable Outdoor Structures
NewsMay.13,2025
-
Gabion Box Factory
NewsMay.13,2025
-
Gabion Basket Wire Gauge and Mesh
NewsMay.13,2025
-
 Gabion Mattresses serves as a retaining wall, providing various prevention and protection works such as landslide prevention, erosion and scour protection as well as various type of hydraulic and coastal protection for river, sea and channel protection. This Gabion Mattress System is made up of a specially designed composite in order to maximize its performance through three phases of vegetative process from unvegetated to vegetation establishment up to vegetation maturation.
 -
 The hesco barriers is a modern gabion primarily used for flood control and military fortifications. It is made of a collapsible wire mesh container and heavy duty fabric liner, and used as a temporary to semi-permanent levee or blast wall against explosions or small-arms. It has seen considerable use in Iraq and Afghanistan.
 -
 3D Triangle bending fence panels an economical version of the panel system,
constructed from a Welded Wire Fence with longitudinal profiles that forms a rigid fence.Due to its simple structure ,easy installation and nice appearance,more and more customers regard this product as the preferred common protective fence. -
 A chain link fence is a type of woven fence usually made from galvanized or PE-coated steel wire.Chain link fence is a kind of elastic woven net, the net hole is even, the net surface is smooth, the net is simple, beautiful and generous, the net silk is high quality, not easy to corrode, the life is long, the practicability is strong.
 -
 Gabion basket also named gabion boxes, is weaved by corrosion resistance, high strength and good ductility galvanized wire or PVC coating wire through mechanical. Wire's material is zinc-5% aluminum alloy (galfan), low carbon steel, stainless steel or iron.
 -
 The gabion basket is made of twisted hexagonal woven mesh. The metal wire used to make gabion baskets is made of soft tensile heavy galvanized steel, and PVC coating can also be used for additional corrosion protection when the application requires.