Sep . 03, 2024 23:13 Back to list
high quality low cost diy gabion wall
Building a High-Quality Low-Cost DIY Gabion Wall
Gabion walls, constructed from wire mesh filled with rocks or other materials, are a popular choice for both residential and commercial landscaping, offering both functionality and aesthetic appeal. The beauty of a DIY gabion wall lies not only in its low cost but also in its ability to enhance the surrounding environment. This article will guide you through the essentials of creating your own high-quality gabion wall without breaking the bank.
Benefits of a Gabion Wall
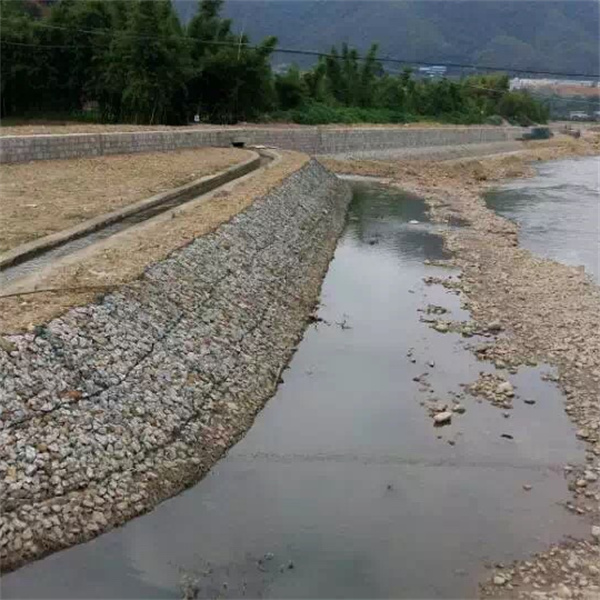
A gabion wall serves multiple purposes, including erosion control, privacy, and protection against natural elements. Unlike traditional walls, gabions are permeable, allowing water to flow through while minimizing pressure and preventing damage. Additionally, they are environmentally friendly, as they utilize natural materials and can blend seamlessly with their surroundings.
Materials Required
To build your gabion wall, you will need some essential materials, which include
1. Wire Mesh Boxes Gabion cages, typically made from galvanized steel or stainless steel wire, can be purchased at hardware stores or online. Alternatively, you can create your own boxes from wire mesh. 2. Filling Materials Natural stones, rocks, or recycled materials can be used to fill the gabion baskets. Sourcing stones locally can significantly reduce costs.
3. Tools The basic tools required include wire cutters, pliers, gloves, and a level to ensure your wall is straight and even.
Step-by-Step Construction
high quality low cost diy gabion wall

1. Planning and Location Begin by selecting the location for your gabion wall. Consider the dimensions and height based on your needs and local regulations. Mark the area where the wall will be built.
2. Building the Base Prepare a solid, level foundation. You may need to dig a trench where the gabion cages will be set. This ensures stability and prevents shifting over time.
3. Assembling the Gabion Cages If you're using pre-made gabion cages, assemble them according to the manufacturer’s instructions. If you are building your own, shape the wire mesh into sturdy boxes and secure the corners with wire ties.
4. Filling the Cages Start filling the cages with your chosen materials. It’s best to use larger stones at the bottom and smaller stones on top to create a stable structure. Ensure the contents are packed tightly to prevent shifting.
5. Placing the Cages After filling, place the cages in the prepped area. Use a level to ensure each cage is aligned both horizontally and vertically.
6. Securing the Cages Once the gabion cages are in position, secure them together with additional wire or connectors, especially for taller walls to enhance stability.
7. Finishing Touches To improve aesthetics, you can plant vegetation around the gabion wall or cover the exterior with earth to allow grass or flowers to grow.
Conclusion
A DIY gabion wall is a sustainable and cost-effective project that can add both beauty and functionality to your outdoor space. By following the steps outlined above and utilizing local materials, you can create a unique feature that blends with nature while serving important practical purposes. Happy building!
-
Visualizing Gabion 3D Integration in Urban Landscapes with Rendering
NewsJul.23,2025
-
The Design and Sustainability of Gabion Wire Mesh Panels
NewsJul.23,2025
-
The Acoustic Performance of Gabion Sound Barriers in Urban Environments
NewsJul.23,2025
-
Mastering the Installation of Galvanized Gabion Structures
NewsJul.23,2025
-
Gabion Boxes: Pioneering Sustainable Infrastructure Across the Globe
NewsJul.23,2025
-
Custom PVC Coated Gabion Boxes for Aesthetic Excellence
NewsJul.23,2025
-
Installation Tips for Gabion Wire Baskets in Erosion Control Projects
NewsJul.21,2025


