sep . 02, 2024 01:57 Back to list
How to Install a Gabion Wall
Installing a Gabion Wall A Step-by-Step Guide
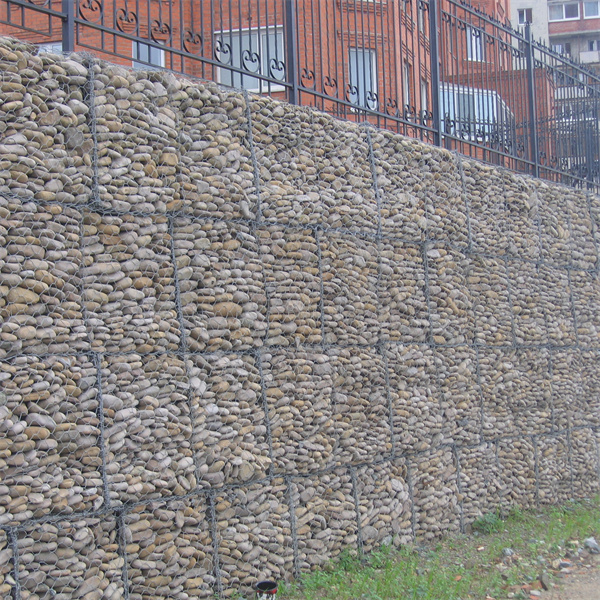
Gabion walls are increasingly popular in landscaping and construction due to their durability, aesthetic appeal, and environmental friendliness. Composed of wire mesh cages filled with stones, these walls can effectively control soil erosion, support slopes, and create attractive barriers in gardens or properties. If you're considering installing a gabion wall, here are the steps to guide you through the process.
Step 1 Planning and Design
Before you begin, it's essential to plan the design of your gabion wall. Determine the height, length, and location based on your needs and local regulations. Consider consulting with a landscape architect or contractor to ensure your design is structurally sound and meets any zoning requirements. It’s also crucial to assess the underlying soil conditions, as this will influence the wall's stability.
Step 2 Gathering Materials
The primary materials needed for a gabion wall include gabion wire baskets (often made from galvanized steel or PVC-coated wire), stones or rock fill (which can vary in size and color), and optional geotextile fabric for added stability. You’ll also require tools such as a shovel, level, and mallet. Make sure to source high-quality materials to ensure the longevity of your wall.
Step 3 Site Preparation
Prepare the site by clearing the area of debris, vegetation, and any loose soil. Mark the outline of your wall using stakes and string to visualize its placement. Dig a trench about 6 to 12 inches deep where the gabion wall will sit; this depth will depend on the height and size of your wall. The trench serves to provide stability and to anchor the wall into the ground.
installing gabion wall

Step 4 Assembling the Gabion Baskets
Following the manufacturer’s instructions, begin assembling the gabion wire baskets. Use a mallet to secure the sides and make sure they are square. Place the baskets in the prepared trench, ensuring they are level and tightly packed together. If you’re building a taller wall, consider using additional baskets for strength and stability.
Step 5 Filling the Baskets
Once the baskets are in place, begin filling them with your chosen stone or rock fill. It’s important to vary the sizes of the stones for better packing and stability, and to pack them tightly to prevent shifting over time. Fill the baskets until they are overflowing slightly, then close and secure the lids of the baskets with wire.
Step 6 Final Touches
After filling, inspect the wall for any loose stones or gaps. You may want to add soil or plants around the base for a seamless blend into your landscape. Be sure to check that the structure is secure and that it conforms to your original design.
Conclusion
Installing a gabion wall can be a rewarding DIY project that enhances the beauty and functionality of your outdoor space. By following these steps and paying attention to detail, you’ll create a durable and attractive feature that can withstand the test of time while adding value to your property.
-
The Role of Galvanized Gabion Mesh in Riverbank Protection
NewsJun.26,2025
-
The Role of Gabion Basket Raised Bed in Sustainable Gardening
NewsJun.26,2025
-
Quality Assurance of Wire Mesh Gabion Baskets
NewsJun.26,2025
-
Installation Guide for Welded Gabion Box
NewsJun.26,2025
-
How to Choose the Right Gabion Box
NewsJun.26,2025
-
Different Types of Gabion Wire Mesh
NewsJun.26,2025
-
Why PVC Coated Gabion Mattress Is the Best Solution for Long-Term Erosion Control
NewsMay.23,2025


