Dec . 04, 2024 22:58 Back to list
gabion basket steps
Gabion Basket Steps A Practical Guide to Construction and Design
Gabion baskets have gained popularity in landscaping and civil engineering for their versatility, aesthetic appeal, and environmental benefits. These wire mesh containers filled with stones or other materials serve multiple purposes, from erosion control and flood protection to creating decorative features in gardens. This article will guide you through the essential steps in using gabion baskets effectively.
Step 1 Planning and Design
Before you start constructing with gabion baskets, it's essential to have a clear design and purpose in mind. Consider the location and function of the baskets. Are you using them for landscaping across a slope, building retaining walls, or creating borders? Sketch your design, ensuring you account for the size and dimensions of the baskets, the type of fill material, and placement in relation to existing structures and landscape features.
Step 2 Choosing Materials
Gabion baskets are typically made from galvanized steel wire or PVC-coated wire to resist corrosion. When selecting stones or fill material, opt for durable rocks like granite, basalt, or limestone that can withstand the elements. The size of the stones should correspond with the gabion size; larger rocks should be used in larger baskets. This selection not only contributes to the aesthetic appeal but also ensures stability and durability.
Step 3 Site Preparation
Prepare the site where the gabion baskets will be placed. This involves clearing any debris and vegetation to create a stable foundation. Depending on the project's scale, you may need to excavate the area to ensure proper leveling. For retaining walls or structures subjected to significant pressure, it's often advisable to create a concrete footing for added strength.
Step 4 Assembling Gabion Baskets
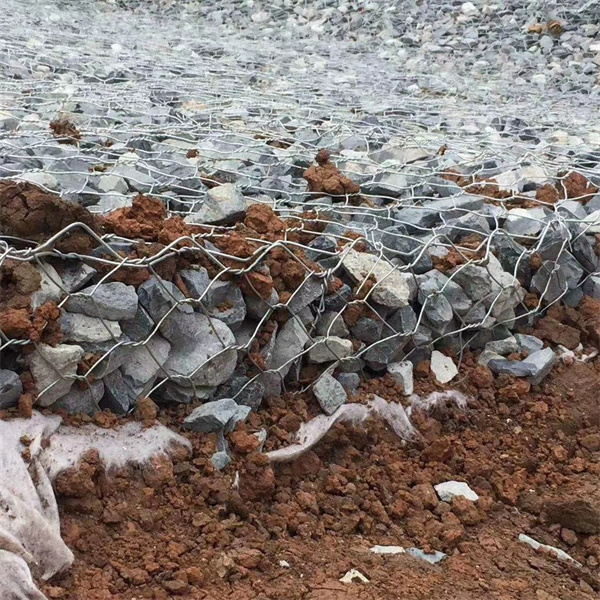
gabion basket steps

Assemble the gabion baskets according to the manufacturer’s instructions. This typically involves bending and fastening the wire mesh framework. Ensure all sides are secure, as any gaps can lead to instability once filled. Place the baskets at the site, covering the bottom with a layer of geotextile fabric to prevent soil erosion and allow drainage.
Step 5 Filling with Material
Begin filling the gabion baskets with your chosen stone or material. Start from the bottom and work your way up, placing larger stones at the base for added stability and smaller stones on the top. It's important to compact the fill material as you go, ensuring there are no loose rocks that could move or shift over time. This method facilitates better weight distribution, crucial for maintaining the structure's integrity.
Step 6 Securing and Finishing
Once filled, close the gabion baskets securely, ensuring that all wires are fastened tightly to prevent movement or displacement of the fill material. For aesthetic purposes, consider planting creeping plants around the gabion walls to promote greenery over time. Incorporate natural elements such as soil, grass, or shrubs around the baskets for a harmonious look that blends with the environment.
Step 7 Maintenance
Gabion baskets are relatively low-maintenance but do require occasional checks for any signs of erosion or displacement. Inspect the wiring for rust and repair as necessary. Over time, as vegetation grows, you may want to prune or remove excess plants to maintain visibility and structural integrity.
Conclusion
Gabion baskets are an effective solution for various landscaping and engineering challenges. By following these steps—planning, selecting materials, site preparation, assembly, filling, securing, and maintenance—you can create durable and attractive structures that enhance the beauty of your outdoor spaces while providing essential functionality. Embrace the opportunity to integrate gabion baskets into your next project, and enjoy their blend of practicality and aesthetic appeal.
-
Visualizing Gabion 3D Integration in Urban Landscapes with Rendering
NewsJul.23,2025
-
The Design and Sustainability of Gabion Wire Mesh Panels
NewsJul.23,2025
-
The Acoustic Performance of Gabion Sound Barriers in Urban Environments
NewsJul.23,2025
-
Mastering the Installation of Galvanized Gabion Structures
NewsJul.23,2025
-
Gabion Boxes: Pioneering Sustainable Infrastructure Across the Globe
NewsJul.23,2025
-
Custom PVC Coated Gabion Boxes for Aesthetic Excellence
NewsJul.23,2025
-
Installation Tips for Gabion Wire Baskets in Erosion Control Projects
NewsJul.21,2025


