Oct . 12, 2024 06:13 Back to list
gabion wall construction details factory
Gabion Wall Construction Details A Comprehensive Guide
Gabion walls have gained popularity in civil engineering and landscaping due to their versatility, durability, and aesthetic appeal. Constructed from wire mesh cages filled with rocks or other materials, these walls serve various purposes, including erosion control, retaining walls, and decorative features. Understanding gabion wall construction details is essential for ensuring structural integrity and functionality.
Materials and Tools
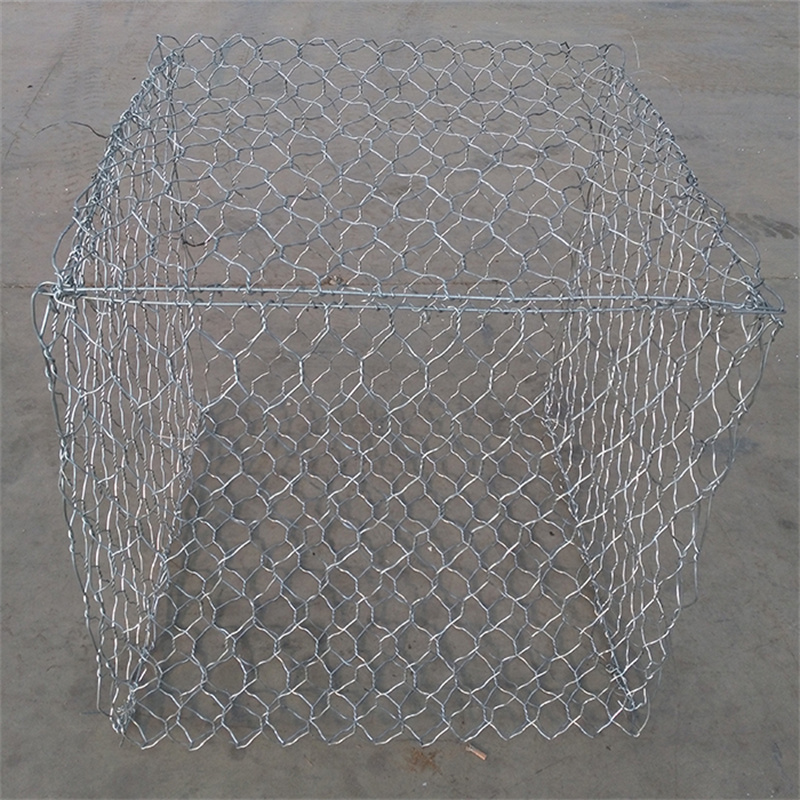
The first step in any gabion wall project is selecting the right materials. Typically, the wire mesh is made of galvanized steel or PVC-coated wire to resist corrosion. The size of the cages can vary, with common dimensions being 1x1x1 meter or larger. The filling materials can range from natural stones to recycled concrete, depending on availability and desired appearance.
Essential tools for construction include a measuring tape, wire cutters, gloves, and protective eyewear. If the project is large or requires precision, consideration should be given to machinery that can assist with heavy lifting and placement.
Site Preparation
Before construction begins, site preparation is crucial. The area where the gabion wall will be built should be cleared of vegetation, debris, and loose soil. Proper grading is important to ensure water drainage and prevent future erosion around the wall. Depending on the height and purpose of the wall, a trench may need to be excavated to establish a stable foundation.
Building the Gabion Wall
1. Laying the Foundation The first step is to build a solid and level base. If the wall is particularly high, consider pouring a concrete footing to enhance stability. The footing should extend beyond the width of the gabion structure.
gabion wall construction details factory

2. Assembling the Gabion Cages Once the foundation is ready, assemble the gabion cages according to manufacturer instructions. Securely fasten the corners and ensure the cages are square. This is vital as any misalignment could weaken the structure.
3. Filling the Cages After assembling the cages, it's time to fill them. Start from the back and work towards the front, placing larger stones at the bottom for stability and using smaller stones to fill gaps. Ensure that the stones are packed tightly to prevent movement. This step is important as loosely filled gabions can suffer from settling over time.
4. Closing the Cages Once filled, close the top of the gabion cages with the provided lids or mesh. Securely fastening these tops will keep the fill in place and prevent displacement.
5. Layering For taller walls, it's often necessary to build in layers. Each additional layer should be staggered to enhance stability and aesthetic appeal.
Finishing Touches
After the gabion wall is constructed, additional features can be added, such as planting vegetation on top for a natural look or integrating lighting for evening visibility. Regularly inspect the structure to ensure it remains stable and the fill remains intact.
Conclusion
Building a gabion wall can be a rewarding project that combines functionality with visual appeal. By following proper construction details, ensuring quality materials, and committing to thorough planning, you can create a durable structure that enhances any landscape while effectively managing erosion or retaining soil. Whether used in building or landscaping, gabion walls offer an eco-friendly alternative that stands the test of time.
-
HESCO Gabion Baskets for Coastal Erosion Prevention
NewsAug.22,2025
-
Longevity and Durability of River Rock Gabion Walls
NewsAug.22,2025
-
How to Integrate Gabion 3D Walls in Urban Planning
NewsAug.22,2025
-
Reno Mattress Gabion Applications in Civil Engineering
NewsAug.22,2025
-
How to Install Wire Mesh for Gabion Baskets Properly
NewsAug.22,2025
-
Best Materials for Filling a Chain Link Gabion
NewsAug.22,2025
-
Wire Mesh Thickness Impact on Gabion Wall Load Bearing
NewsAug.12,2025


