Nov . 21, 2024 23:00 Back to list
best gabion fence construction
Building the Best Gabion Fence A Step-by-Step Guide
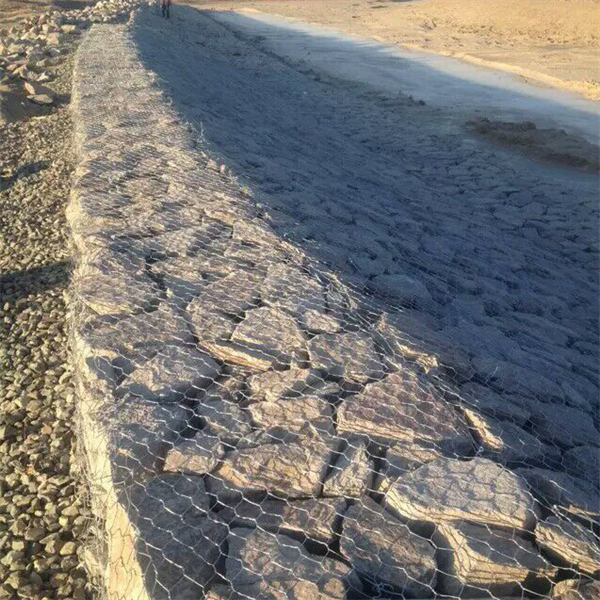
Gabion fences have become increasingly popular for their unique aesthetic appeal and functional benefits. Constructed from wire mesh filled with stones, these structures provide privacy, security, and an interesting visual element to any landscape. Whether for residential or commercial use, learning how to build a gabion fence can bring both beauty and practicality to your outdoor space. Here’s a step-by-step guide to help you construct the best gabion fence.
Step 1 Planning and Design
Before diving into the construction, it's crucial to plan your gabion fence. Determine the length and height you want the fence to be, keeping in mind any local building codes or HOA regulations that may apply. Sketch your design, and consider incorporating variations in height or shape to make it more visually appealing.
Step 2 Gather Materials
To build a gabion fence, you will need the following materials
- Gabion Baskets Choose galvanized steel or PVC-coated wire mesh for durability. Ensure the size of the baskets suits your design. - Filling Material Natural stones work best. You can use granite, river rock, or any other type of stone that fits your aesthetic. Avoid stones that are too soft and may crumble. - Tools You'll need a shovel, gloves, a level, and possibly wire cutters or pliers.
Step 3 Prepare the Site
Select a location for your gabion fence and clear the area of debris, vegetation, or any obstacles. Mark the boundary where the fence will go using stakes and string or paint. Ensure the ground is level where the fence will stand for stability and durability.
Step 4 Assemble the Gabion Baskets
Once the site is prepared, assemble the gabion baskets according to the manufacturer's instructions. Ensure each basket is securely fastened at the corners and sides. If using multiple baskets, arrange them in a line to form a continuous fence.
best gabion fence construction

Step 5 Fill the Baskets
With the baskets assembled, it's time to fill them with stones. Start by placing larger stones at the bottom for a sturdy foundation and follow with smaller stones on top. When filling, be sure to distribute the stones evenly to prevent any bulging in the wire mesh. Avoid overfilling; leave enough space so that the cover can close securely.
Step 6 Secure the Baskets
After filling, close the tops of the gabion baskets using wire to secure the contents inside. Tightly twist the wires to ensure that the stones do not shift. A secure top will also protect the structure from rogue elements that may disturb it.
Step 7 Final Touches
Once the baskets are secured, step back to assess your work. Use a level to ensure that each section of the fence is even. If needed, adjust the stones or the baskets slightly to achieve a uniform height and appearance.
Step 8 Landscaping
To enhance the overall look of your gabion fence, consider adding landscaping features such as plants, shrubs, or flowers around the base. This not only beautifies the area but can also provide additional privacy.
Conclusion
Building a gabion fence is an achievable DIY project that offers both functionality and aesthetic charm. With careful planning and execution, you can create a beautiful feature that enhances your yard while providing safety and privacy. Follow these steps, and you'll be well on your way to enjoying your new gabion fence for years to come. Whether rustic or modern, a gabion fence is a unique addition that can withstand the test of time and weather. Happy building!
-
Visualizing Gabion 3D Integration in Urban Landscapes with Rendering
NewsJul.23,2025
-
The Design and Sustainability of Gabion Wire Mesh Panels
NewsJul.23,2025
-
The Acoustic Performance of Gabion Sound Barriers in Urban Environments
NewsJul.23,2025
-
Mastering the Installation of Galvanized Gabion Structures
NewsJul.23,2025
-
Gabion Boxes: Pioneering Sustainable Infrastructure Across the Globe
NewsJul.23,2025
-
Custom PVC Coated Gabion Boxes for Aesthetic Excellence
NewsJul.23,2025
-
Installation Tips for Gabion Wire Baskets in Erosion Control Projects
NewsJul.21,2025


