Sep . 15, 2024 02:59 Back to list
high quality diy gabion stand for plants
Creating a High-Quality DIY Gabion Stand for Plants
When it comes to gardening, finding the perfect balance between aesthetics and functionality can be a challenge. One innovative solution is the use of gabion stands, which not only provide a sturdy base for your plants but also add a rustic charm to your outdoor space. In this article, we will guide you through the steps to create a high-quality DIY gabion stand for your plants.
What is a Gabion?
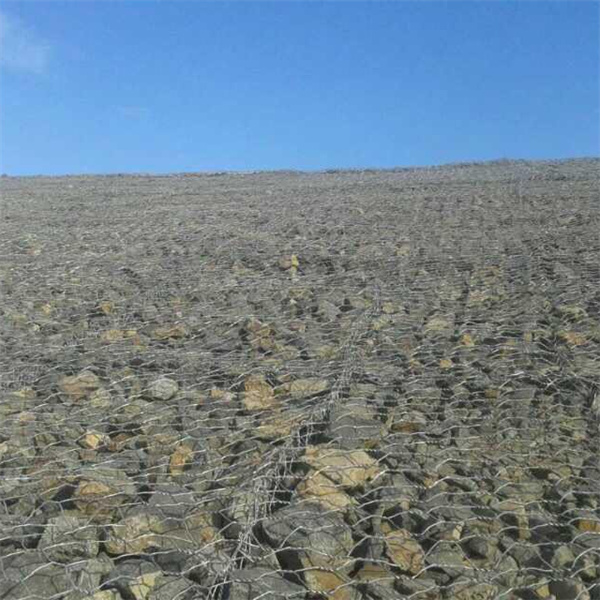
Gabions are wire mesh cages filled with rocks or other materials. Originally used for erosion control and retaining walls, they have become increasingly popular in landscaping and gardening. Their versatility allows them to be used as decorative planters, seating areas, or raised beds. Adding a gabion stand to your garden can elevate your plants and provide better drainage while also creating an eye-catching focal point.
Materials Needed
To create your own gabion stand, you will need the following materials - Galvanized wire mesh or gabion baskets - Natural stones or decorative gravel - Wire cutters - A pair of sturdy gloves - A level - Optional landscape fabric
Step-by-Step Instructions
1. Design Your Stand Determine the size of your gabion stand based on the plants you want to display. Sketch a simple design keeping in mind the height, width, and depth you desire.
high quality diy gabion stand for plants

2. Cut the Wire Mesh If you are using wire mesh, cut the sheets according to your dimensions. Ensure the pieces are large enough to form a rectangular or square box once bent and shaped.
3. Form the Box Shape Using your wire, create a box shape. Make sure to secure the corners by twisting the wires together tightly to hold the structure intact.
4. Fill with Rocks Once your structure is complete, start filling it with stones. Choose a mix of sizes for an interesting texture. If you’re using decorative gravel, aim for a color that complements your garden theme.
5. Level the Stand Place your filled gabion stand in the desired location, ensuring it is level. A level base is essential for stability, especially if your stand will bear the weight of larger plants.
6. Planting If you wish to plant directly into your gabion stand, consider adding landscape fabric at the top to keep the soil in place while allowing for drainage. Fill with potting soil and plant your favorite flowers, herbs, or succulents.
7. Finishing Touches Enhance the aesthetics by adding mulch or decorative stones on top of the soil. You might also consider adding a water feature, fairy lights, or decorative stakes to make your gabion stand even more appealing.
Conclusion
Building a DIY gabion stand for your plants is not only an eco-friendly project but also a creative way to enhance your garden's overall appearance. With a bit of time and effort, you can enjoy a beautifully designed structure that offers both functional benefits and visual appeal. Whether you choose to plant flowers or display pots of herbs, your gabion stand will undoubtedly become a cherished part of your outdoor oasis. So gather your materials, unleash your creativity, and transform your gardening experience!
-
Visualizing Gabion 3D Integration in Urban Landscapes with Rendering
NewsJul.23,2025
-
The Design and Sustainability of Gabion Wire Mesh Panels
NewsJul.23,2025
-
The Acoustic Performance of Gabion Sound Barriers in Urban Environments
NewsJul.23,2025
-
Mastering the Installation of Galvanized Gabion Structures
NewsJul.23,2025
-
Gabion Boxes: Pioneering Sustainable Infrastructure Across the Globe
NewsJul.23,2025
-
Custom PVC Coated Gabion Boxes for Aesthetic Excellence
NewsJul.23,2025
-
Installation Tips for Gabion Wire Baskets in Erosion Control Projects
NewsJul.21,2025


