Nov . 20, 2024 00:28 Back to list
install gabion wall factories
Installing Gabion Walls A Comprehensive Guide
Gabion walls have gained popularity over the years due to their versatility, durability, and aesthetic appeal. These structures, made of wire mesh cages filled with rocks, stones, or other materials, serve a variety of purposes including erosion control, retaining walls, and decorative landscape features. This article explores the process involved in installing gabion walls, the materials needed, and essential tips to ensure a successful project.
Understanding Gabion Walls
Before diving into the installation process, it’s crucial to grasp what gabion walls are and their advantages. They are essentially large, rectangular cages filled with natural materials, typically rock or concrete, that stack on one another to create a sturdy barrier. Their porous structure allows water to pass through, which helps prevent erosion and provides stability. Moreover, gabion walls blend seamlessly into natural environments, making them an aesthetic choice for landscaping.
Materials Needed for Installation
When installing gabion walls, a variety of materials and tools are required
1. Gabion Baskets Pre-manufactured wire mesh cages that come in various sizes. Ensure they are galvanized to prevent rusting. 2. Fill Material Rocks or stones that will fill the gabion baskets. The size of the fill material will depend on the basket sizes; typically, larger stones create a more stable wall. 3. Geotextile Fabric (optional) This can be placed at the base of the wall to prevent soil erosion and maintain the wall's integrity. 4. Tools Basic tools such as gloves, wire cutters, pliers, a level, a shovel, and a tamper will be required.
Step-by-Step Installation Process
install gabion wall factories

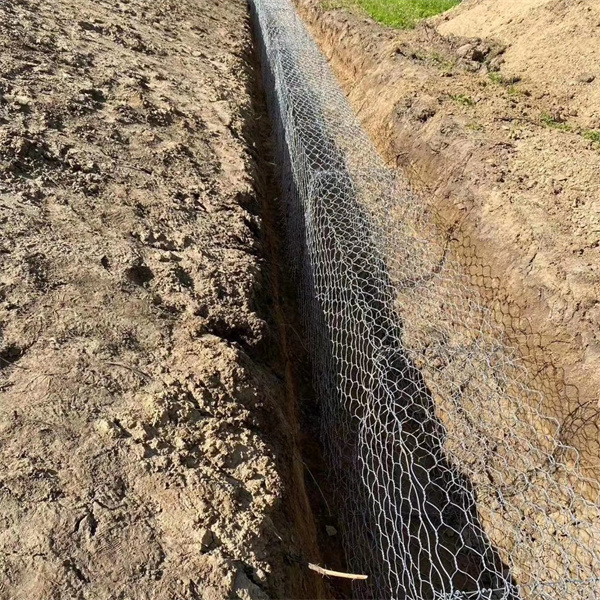
1. Site Preparation Begin by selecting the location for your gabion wall. Clear any debris, vegetation, and rocks from the area. If necessary, dig a trench to provide a stable foundation. Ensure the ground is level and compacted, as this will support the weight of the wall.
2. Base Layer Lay down a geotextile fabric if you’re using it. This helps prevent soil erosion while allowing water to drain. It also separates the wall from the soil so that fine particles do not wash away through the gaps.
3. Assemble Gabion Baskets Open the gabion baskets and unfold them. Depending on their design, you may need to secure the corners with wire ties. Position the first layer of gabion baskets into the prepared area, ensuring they are aligned and level.
4. Filling the Baskets Begin filling the gabion baskets with your chosen fill material. It’s best to use assorted sizes of rocks, as this will create a denser and more stable wall. Be sure to tamp down the fill to minimize voids. The first layer should be filled and compacted before adding another layer of gabion baskets on top.
5. Stacking Layers Once the first layer of baskets is filled and level, place the next layer of gabion baskets on top. Repeat the filling process until you reach the desired height. It’s essential to stagger the seams (similar to brickwork) between layers, as this enhances structural integrity.
6. Finishing Touches After you’ve reached the full height of your wall, make sure all baskets are secured and filled uniformly. Trim any excess wire or sharp edges, as this can pose safety hazards.
Conclusion
Installing a gabion wall can be a rewarding project that enhances both the functionality and aesthetics of your landscape. While the installation may require some physical effort and careful planning, the results are often worthwhile. Whether used for erosion control, decoration, or a boundary, gabion walls offer a blend of natural beauty and enduring strength. With the right materials and a systematic approach, you can create a stunning feature that will stand the test of time. Remember to consult local regulations and guidelines, as specific requirements may vary based on your location. Happy building!
-
Wire Mesh Thickness Impact on Gabion Wall Load Bearing
NewsAug.12,2025
-
Ultimate Guide to Hexagonal Gabion Box
NewsAug.12,2025
-
Types of Rocks for Gabion Baskets Durability and Aesthetics
NewsAug.12,2025
-
Standard Gabion Box Sizes and Their Industrial Applications
NewsAug.12,2025
-
Easy Guide to Building Garden Gabion Cages at Home
NewsAug.12,2025
-
Drainage Solutions for Gabion Mesh Structures
NewsAug.12,2025
-
Visualizing Gabion 3D Integration in Urban Landscapes with Rendering
NewsJul.23,2025


