jul . 25, 2024 06:28 Back to list
Create a Durable and Stylish Gabion Wall for Your Outdoor Space with a Personal Touch
Building Your Own High-Quality Gabion Wall A Step-by-Step Guide
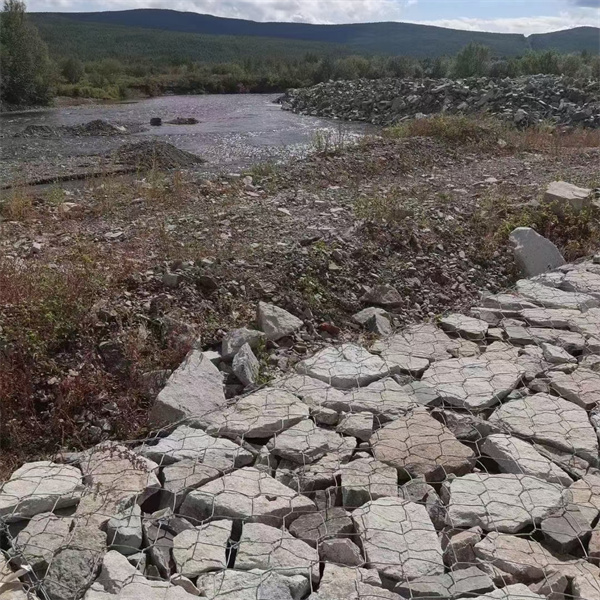
Gabion walls have become a popular choice for landscaping, retaining walls, and erosion control due to their durability, aesthetics, and ecological benefits. Building your own high-quality gabion wall can be a rewarding project that enhances the beauty of your outdoor space while providing practical functionality. Here’s how to create a robust and visually appealing gabion wall.
Materials Needed
Before starting your project, gather the necessary materials
1. Gabion Baskets These are wire mesh containers that will hold the rocks. They come in various sizes, so choose based on the desired height and length of your wall. 2. Rocks Select stones that will fit well into the baskets. Typically, larger river rocks or angular stones are preferred for stability. 3. Wire Ties These will be used to secure the gabion baskets together and reinforce the structure. 4. Gravel A layer of gravel at the base can improve drainage and provide a stable foundation. 5. Tools You will need gloves, wire cutters, a level, and possibly a shovel and a tamper.
Planning Your Wall
1. Determine Location and Size Choose a location where your gabion wall will serve its intended purpose, whether it's to hold back soil, prevent erosion, or add a decorative touch. Measure the area to plan the dimensions of the wall.
2. Check Local Regulations Before beginning any construction, check with local authorities and homeowners' associations to understand any building codes, permits, or restrictions.
Preparing the Site
2. Excavate a Foundation Dig a trench that is approximately 6-12 inches deep. This will serve as a stable base for your gabion wall. The trench should be slightly wider than the gabion baskets.
3. Add Gravel Fill the trench with 3-4 inches of gravel to promote drainage. Compact it to create a firm foundation.
high quality build your own gabion wall

Assembling the Gabion Wall
1. Set the Gabion Baskets Start placing the gabion baskets into the trench, ensuring that they are level and aligned. Use a level to check that they are straight.
2. Fill the Baskets Fill each basket with your selected rocks. When filling, make sure to distribute the stones evenly and avoid leaving gaps. This helps maintain the structural integrity of the wall.
3. Secure the Baskets Once the baskets are filled, use wire ties to secure the tops and ends of the baskets to prevent them from shifting. This will also enhance the wall’s overall stability.
4. Layering If constructing a taller wall, stagger the joints between each layer, similar to bricklaying. This interlocking pattern provides additional strength.
Final Touches
1. Top Off the Wall After completing the desired height, consider capping the wall with flat stones or a solid material. This can help prevent the rocks from spilling out and give the wall a polished look.
2. Planting Vegetation If your wall is part of a landscaping project, consider planting suitable vegetation in front of or atop the wall. Plants can help integrate the structure into its surroundings and further prevent erosion.
3. Maintenance Gabion walls are generally low maintenance, but periodic checks to ensure that the baskets are intact and that there is no significant displacement of rocks can help prolong the lifespan of your wall.
Conclusion
Building your own gabion wall can significantly improve your outdoor space, providing both aesthetic appeal and functionality. By carefully planning, selecting quality materials, and following these steps, you can create a durable and visually striking structure that will stand the test of time. Embrace the opportunity to combine nature with construction, enhancing both your landscape and your outdoor living experience.
-
HESCO Gabion Baskets for Coastal Erosion Prevention
NewsAug.22,2025
-
Longevity and Durability of River Rock Gabion Walls
NewsAug.22,2025
-
How to Integrate Gabion 3D Walls in Urban Planning
NewsAug.22,2025
-
Reno Mattress Gabion Applications in Civil Engineering
NewsAug.22,2025
-
How to Install Wire Mesh for Gabion Baskets Properly
NewsAug.22,2025
-
Best Materials for Filling a Chain Link Gabion
NewsAug.22,2025
-
Wire Mesh Thickness Impact on Gabion Wall Load Bearing
NewsAug.12,2025


